


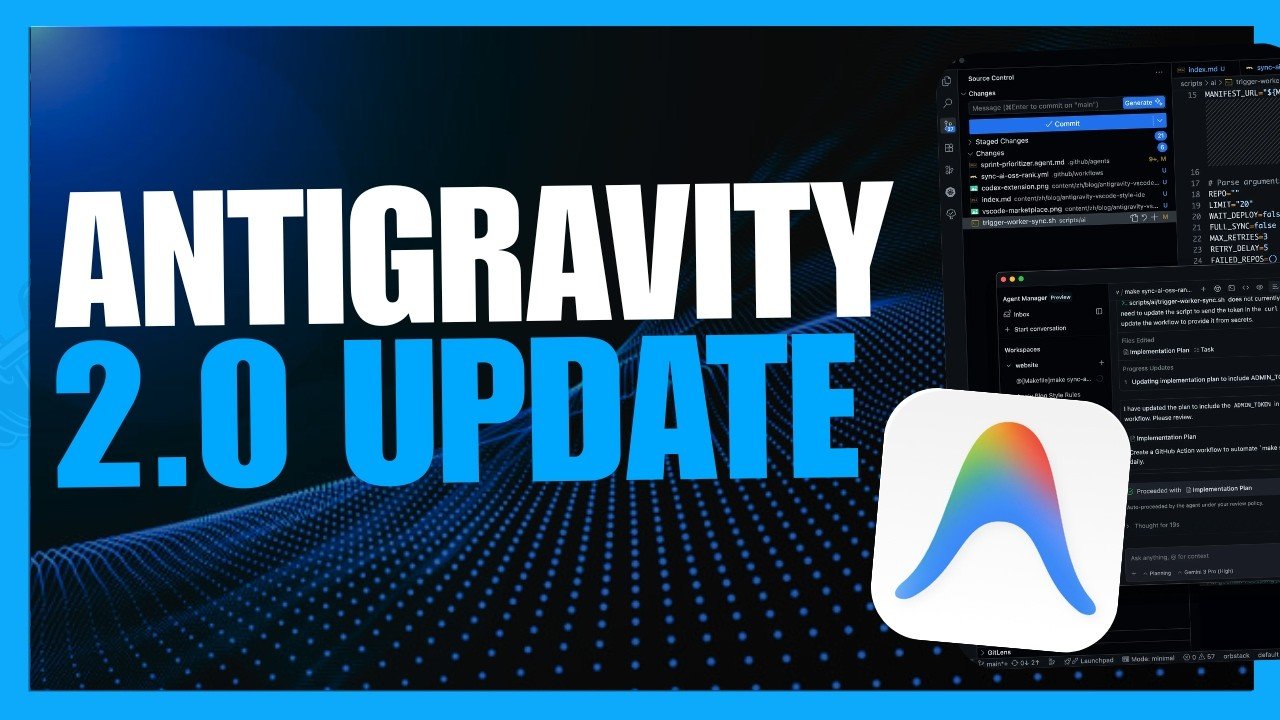
Google Antigravity 2.0 is a standalone desktop application designed to serve as a command center for managing and interacting with AI agents (0:19–0:23).
Key Capabilities:
- Parallel Execution: It allows you to run multiple autonomous AI agents simultaneously across various projects, meaning you don’t have to wait for one task to finish before starting another (0:33, 1:26–1:46).
- Project Planning & Execution: The agents can plan, build, test, and execute complex workflows. Users can interact with agents using prompts like “/grill me” to refine plans, leave notes for the agent, and review a full walkthrough of the finished work (0:16, 0:43–1:05).
- Automation: It can be used for tasks like custom app development (e.g., Chrome extensions or 3D modeling tools) and scheduled automation, such as cleaning up desktop files and folders (0:00–0:12, 1:07–1:22).
Ecosystem:
In addition to the desktop app, Antigravity is available as a CLI (Command Line Interface), an IDE (Integrated Development Environment), and an SDK (Software Development Kit) (1:53–1:58). You can learn more at antigravity.google.
The Antigravity 2.0 Ecosystem
- Desktop App: The main standalone command center for macOS, Windows, and Linux to run multiple agents in parallel.
- Antigravity IDE: A fully agentic development environment natively aware of your entire codebase.
- Antigravity CLI: A fast, terminal-first option to interact with background agents, execute shell commands, and skip the GUI.
- Antigravity SDK & API: A Python-supported framework (
google-antigravity) to programmatically build, secure, and scale custom agent harnesses. [3, 9, 10, 11]
Step 1: Initialize Your Project Workspace
- Download and open the Antigravity 2.0 Desktop App.
- Create a new project and link a local workspace folder or link directly to a Git repository.
- The platform will automatically structure directories like
app_build/(for the code) andskills/(for AI instruction manuals) to keep operations isolated and organized. [4, 6, 10]
Step 2: Define and Blueprint the App (The “/grill” Command)
- Use the
/grillcommand: Type/grillfollowed by your basic idea (e.g., “Build a cross-platform time tracking tool for my freelance business.”). - The Agent Interview: The primary AI agent will ask clarifying questions about features, your ideal tech stack, and API requirements.
- Review the Plan: The system outputs an interactive blueprint. You can directly annotate, edit, and approve the steps before the agents begin execution. [14]
Step 3: Choose Your Execution Mode
- Fast Mode: Used for rapid, simple executions (e.g., minor script tweaks or quick automation chains) where the AI acts instantly without heavy architectural mapping. [1]
- Planning Mode: Essential for building complex apps. In this mode, the platform pauses to logically break down your prompt, draft an implementation strategy, and look for parallel tasks it can offload to dynamic subagents. [1, 2]
Step 4: Multi-Agent Parallel Building & “Artifacts”
- Parallel Execution: While one subagent structures a secure backend database (e.g., using Go and SQLite), a parallel subagent designs the frontend user interface, and a third researches localized API translation files. [7, 13]
- Monitoring Artifacts: As work progresses, the system delivers “Artifacts”—tangible logs, step-by-step code blocks, and visual walkthrough summaries that allow you to track exactly what the AI has built. [2, 13, 14]
- Just-In-Time Context (Skills): If your app requires specific third-party integration, you can drop modular technical instruction manuals (
.mdfiles) into theskills/folder to instantly inject that knowledge into the agent’s active memory. [6, 13]
Step 5: Native Automations and Scheduled Tasks
- Native Automations: You can prompt it to generate native Swift daemons or Windows background services to manage your local machine (such as auto-tagging documents based on modification dates).
- Scheduled Tasks: You can input a standard cron schedule directly into the UI (e.g., “Run this agent every Friday at 5 PM”), and the agent will run autonomously in the background to handle data backups, report processing, or system cleanups. [2, 3, 8]
Step 6: Testing and Turbo Deployments
- Turbo Mode / Self-Testing: By enabling Turbo configurations, you give Antigravity permission to autonomously handle compilation, install required libraries, run local test suites, and troubleshoot its own bugs without bottlenecking your flow.
- Review and Polish: Provide direct real-time feedback within the chat loop or on specific Artifact assets to refine user interface styles or fix logical edge cases before concluding the project. [8, 9, 13]
- What specific type of app or automation task are you trying to build?
- Do you prefer a no-code English framework or are you looking to use the Python SDK / CLI?
- Are you integrating local files or connecting to cloud services?
Read more
. Meet Qwen3.8-Max: A New Bar for Coding and Cowork
. 5 ways to host the ultimate dinner party with Google Search
. 5 ways AI Mode in Search helps you enjoy the real world
. These Google Trends show people really want to touch grass
. 2026-07-01 124 344 Codex Pets Meet The Team USEN YOUTUBE 1920×1080
. OpenAI’s New AI ASTRA Is Total Overkill (Ends The GPT Era)
. 3 new ways nonprofits can put AI to work
. Gemini API Managed Agents: 3.6 Flash, hooks, and more
. Provide more clear, contextual feedback with timestamped comments in Google Drive videos
. How Gemini Flash agents are helping a Michigan dairy farmer
************************************************************
. Google Pixel 11 Pro Fold Open
. Gemini for macOS adds new natural language capabilities
. Visual screenshots now included in Google Meet meeting notes
. Streamlining rubric generation in Google Classroom with Gemini
for more refer Gemini website click here
for more refer Artificial Intelligence website click here